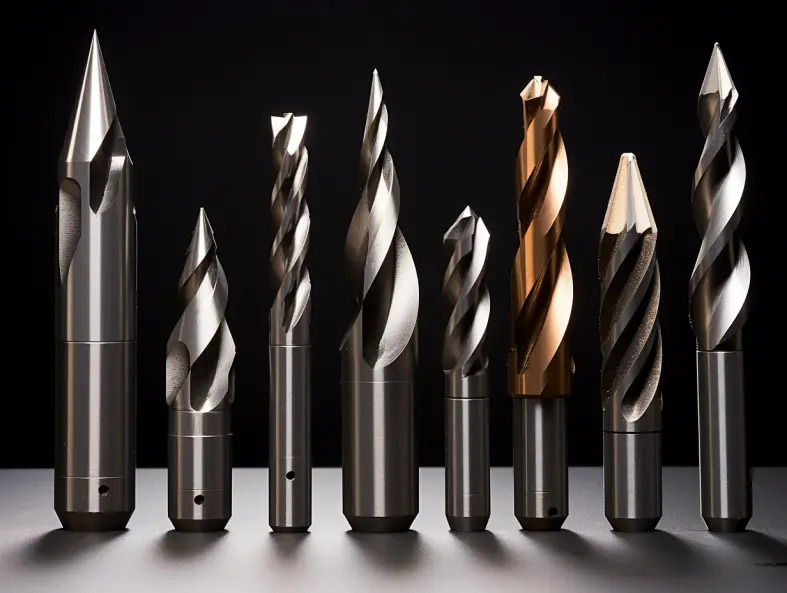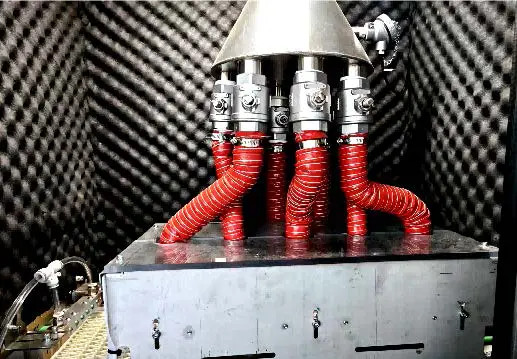
How Does Wet Blasting Process Compare to Dry Blasting for Precision Parts?
Understand the slurry process, its operating variables and the differences to consider when comparing wet and dry treatment.
Read Article
DasiAuto Products
Start with your workpiece and the surface you need. Explore eight equipment configurations, from single-insert treatment and robotic development to integrated and continuous processing.
Equipment
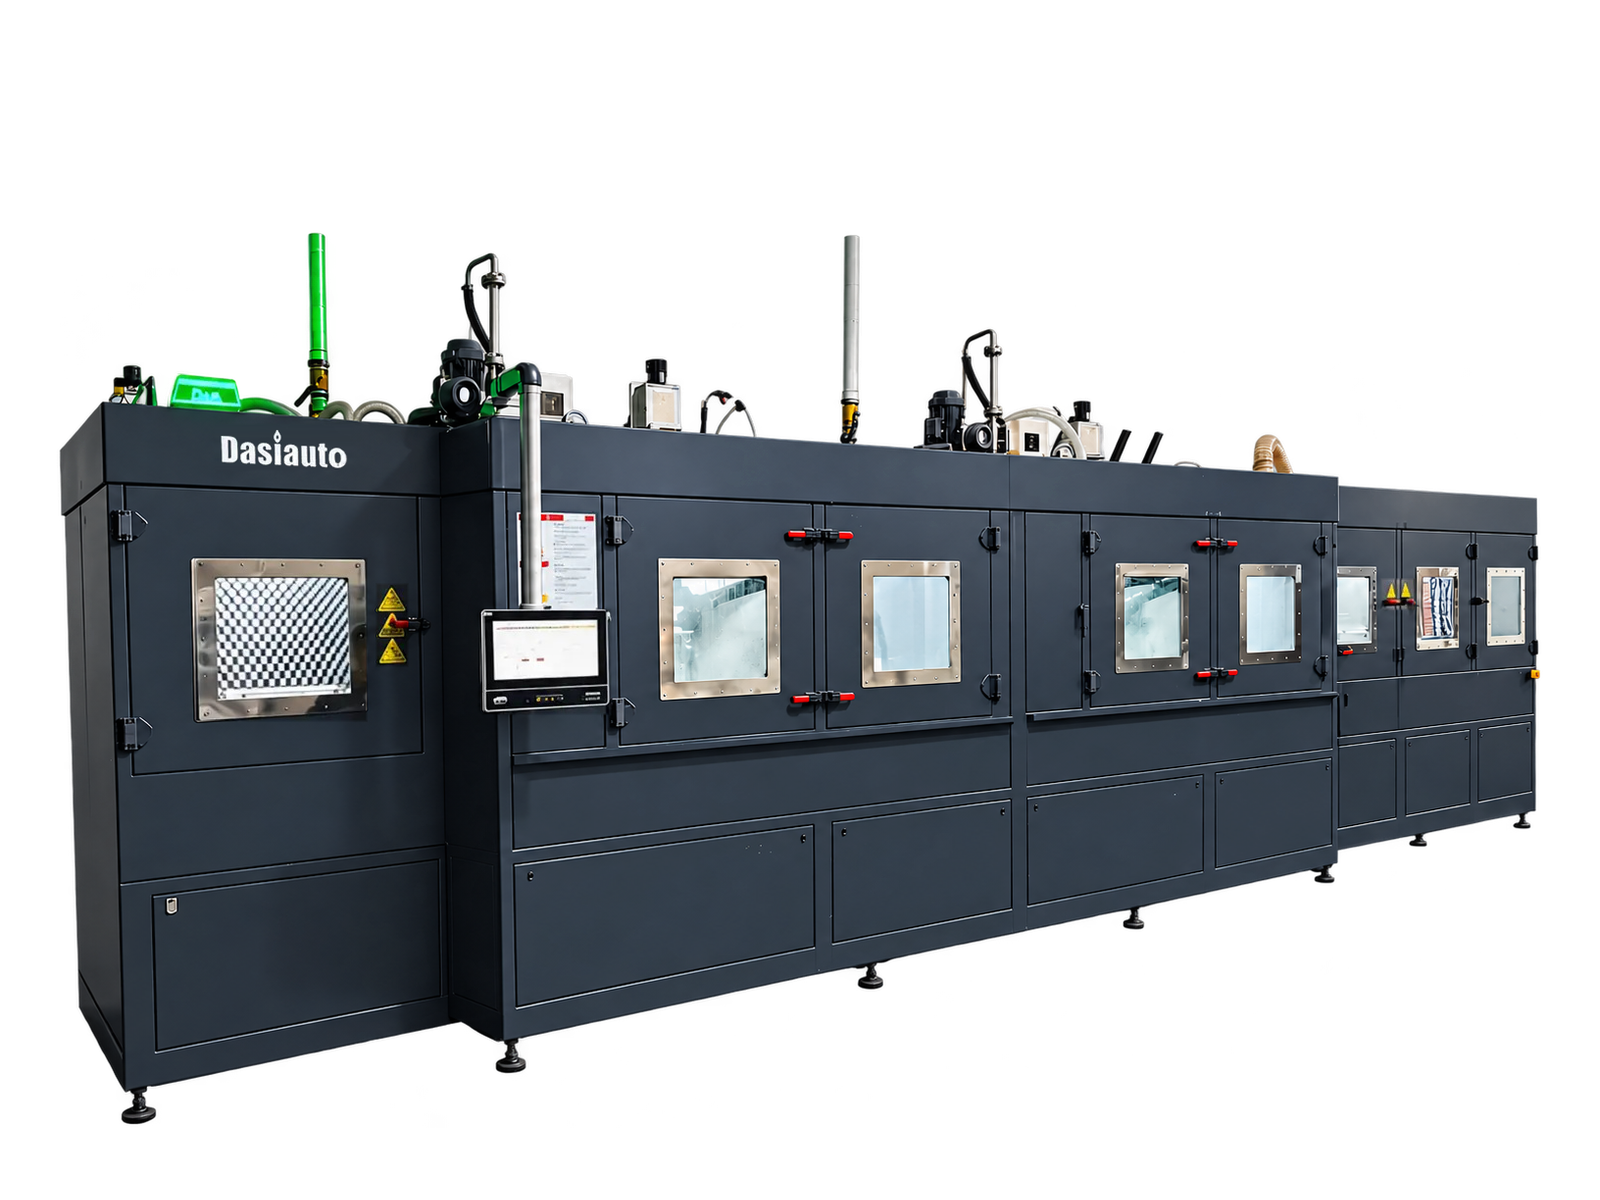
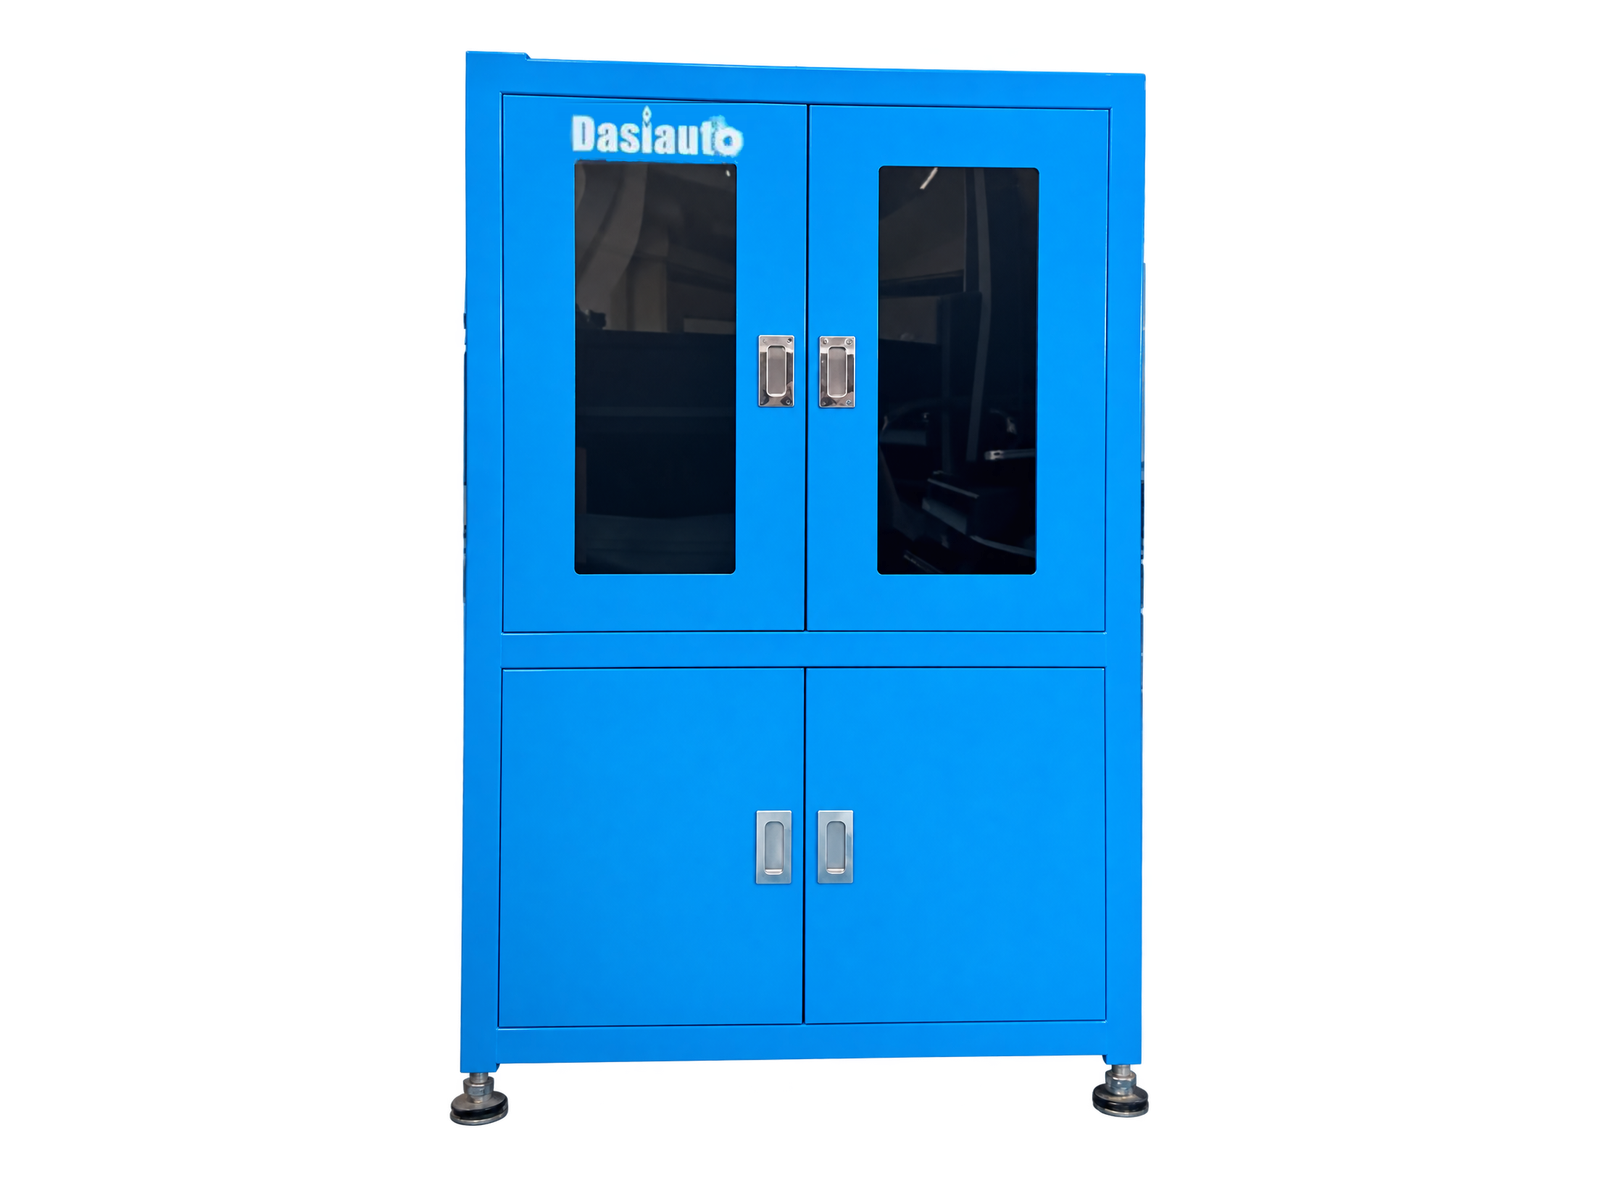
Compare the workpiece, handling arrangement and treatment described for each model. Review each model’s published configuration and specifications, then confirm the requirements for your part.
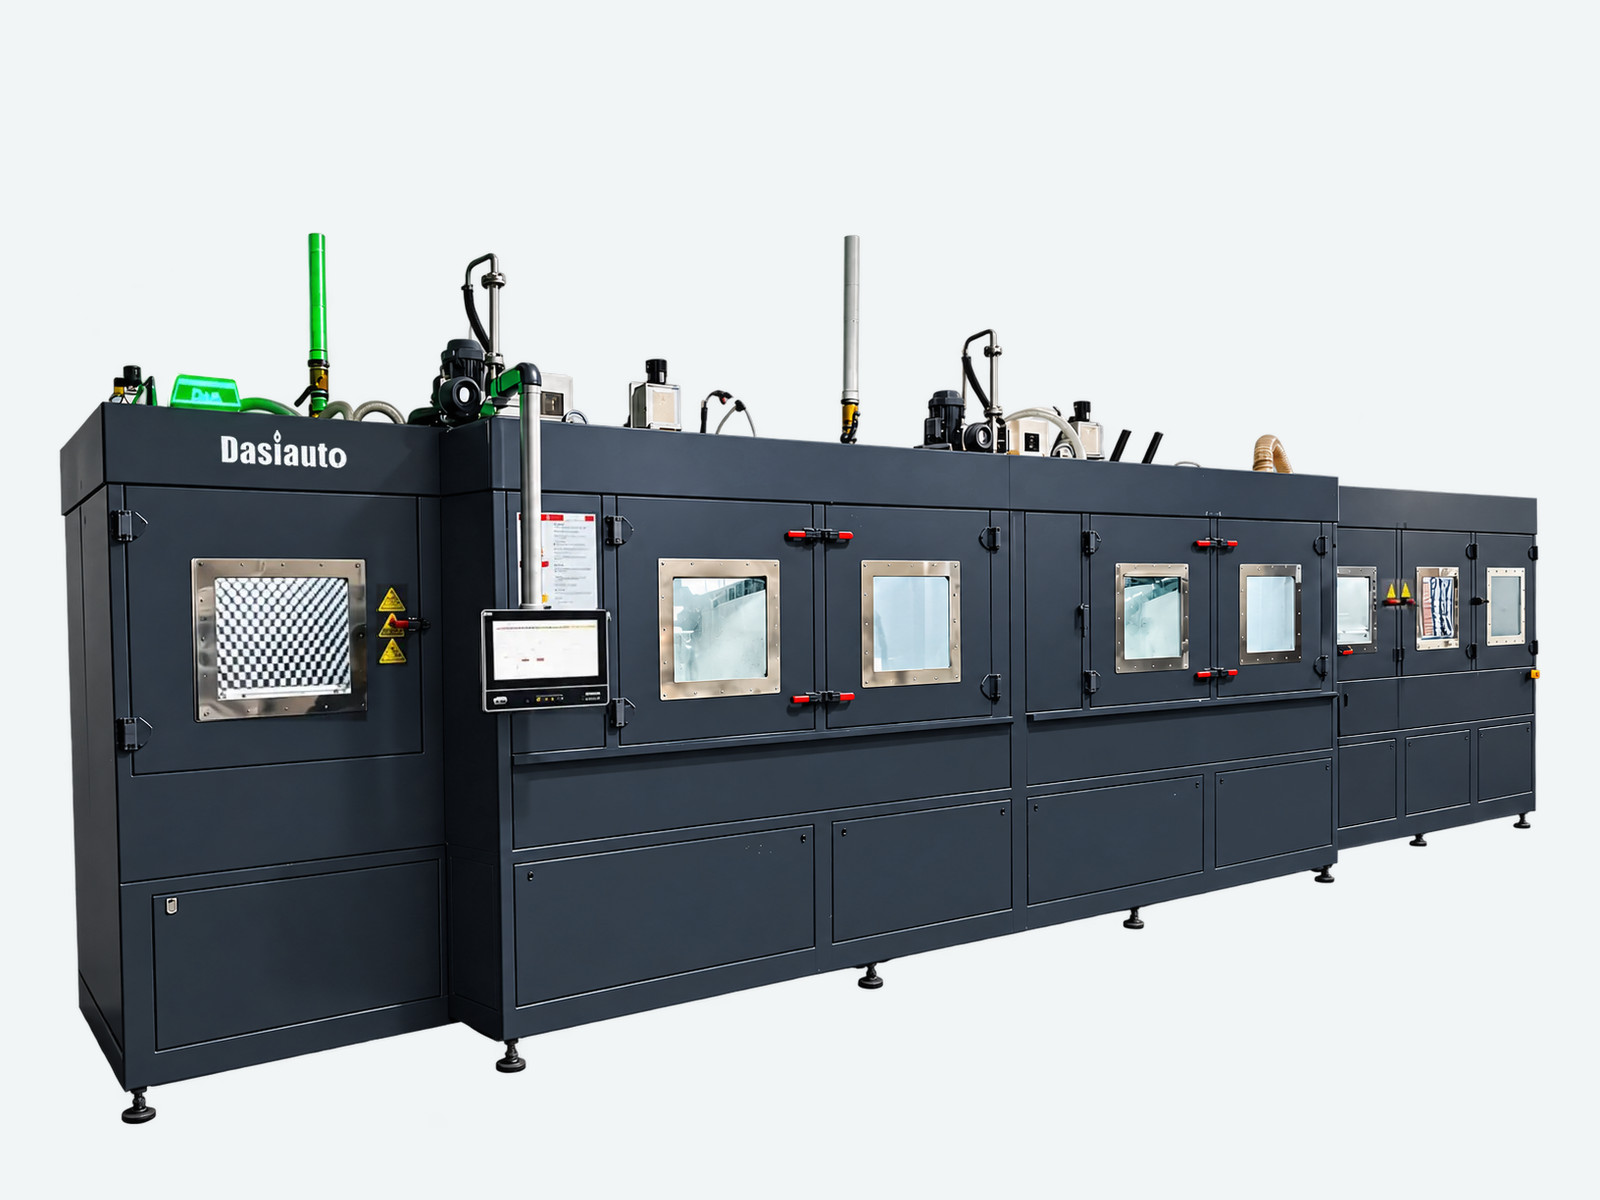
Double Chamber Wet Blasting
Integrated insert treatment, with blasting, cleaning and drying in one workflow.
Explore DC-40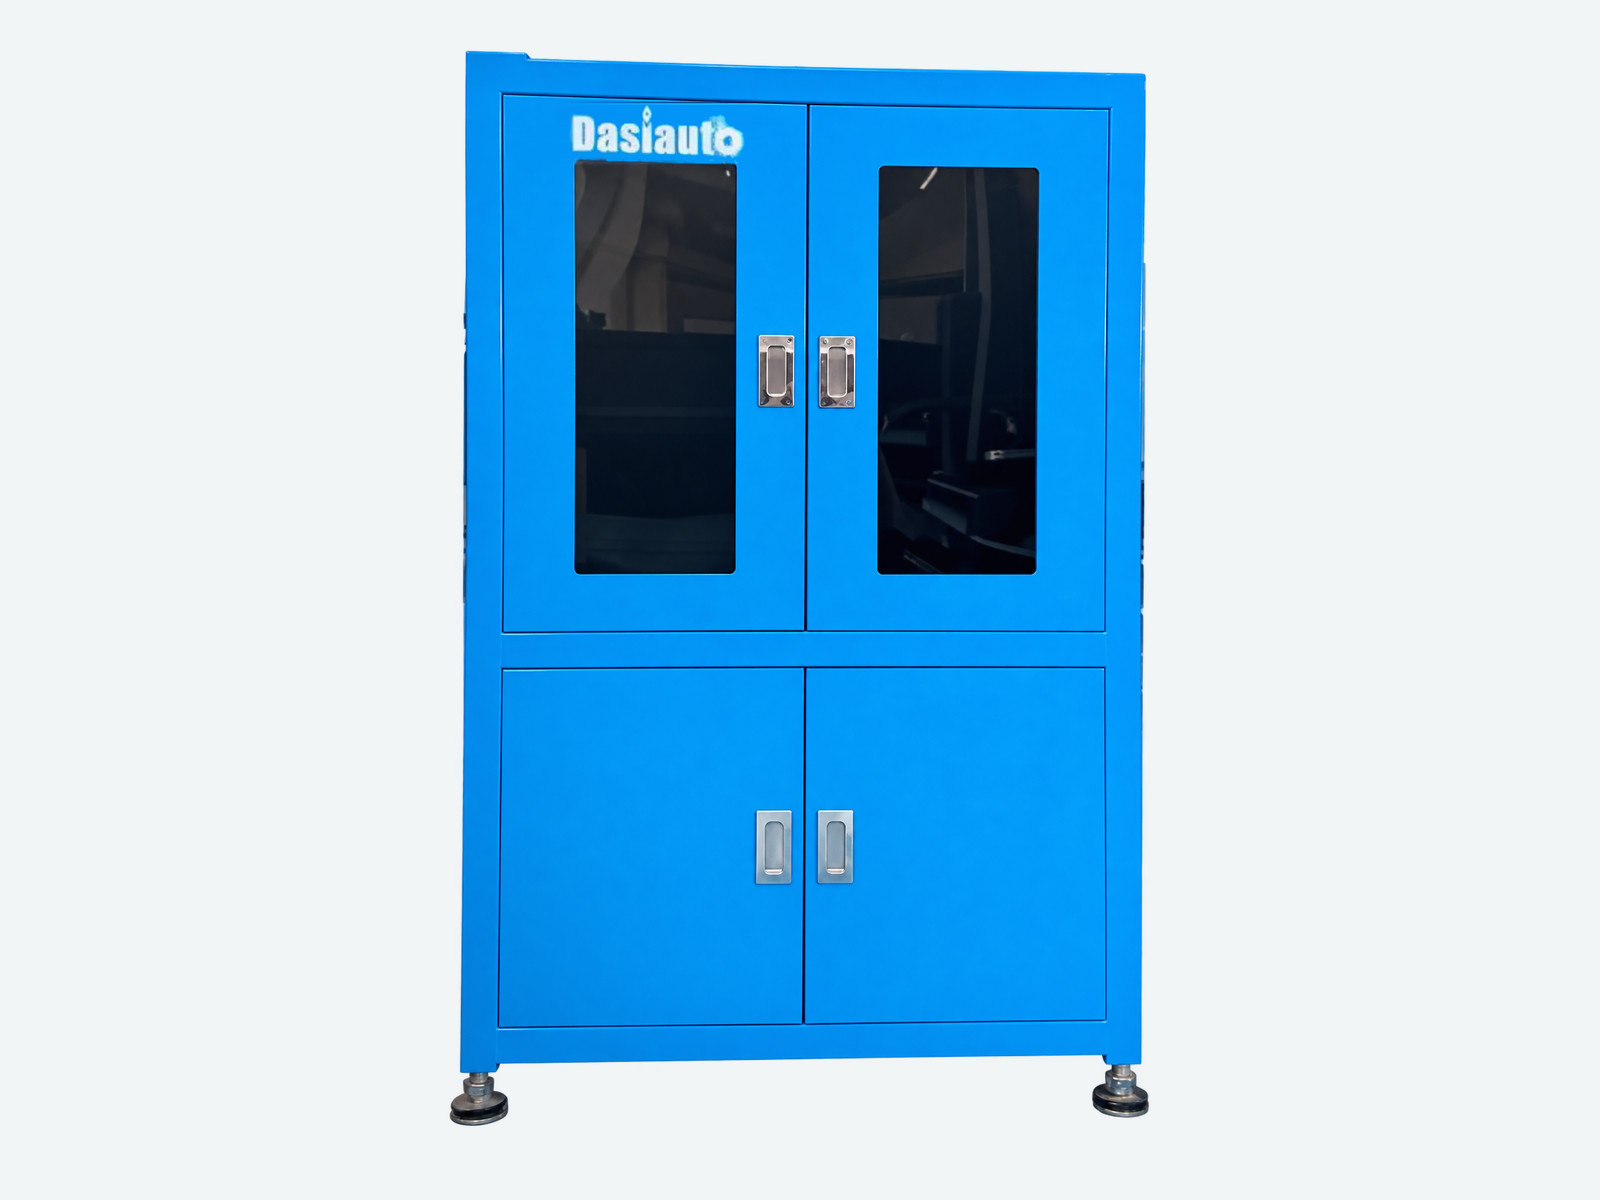
Single-Piece Wet Blasting
Single-insert clamping, adjustable nozzles, controlled rotation and automated handling.
Explore SP1580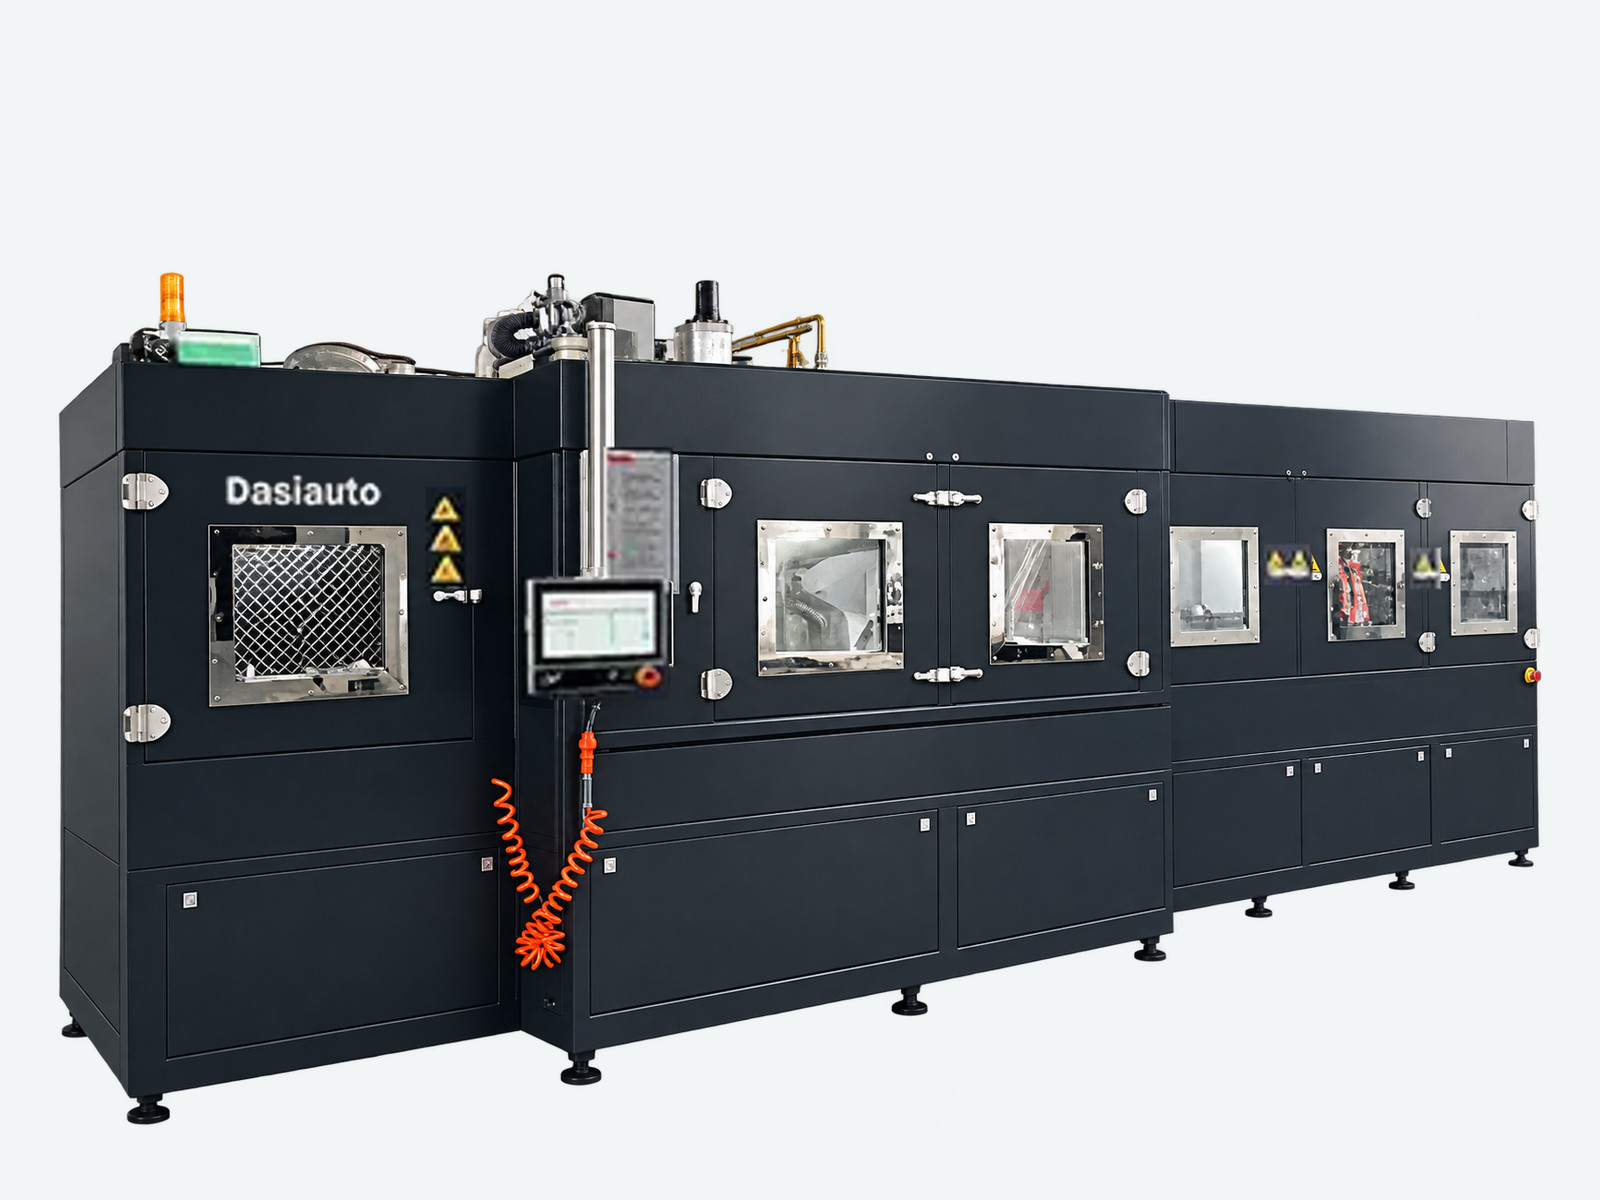
Single Chamber Wet Blasting
A configured workflow for insert honing and surface treatment before or after coating.
Explore SC-40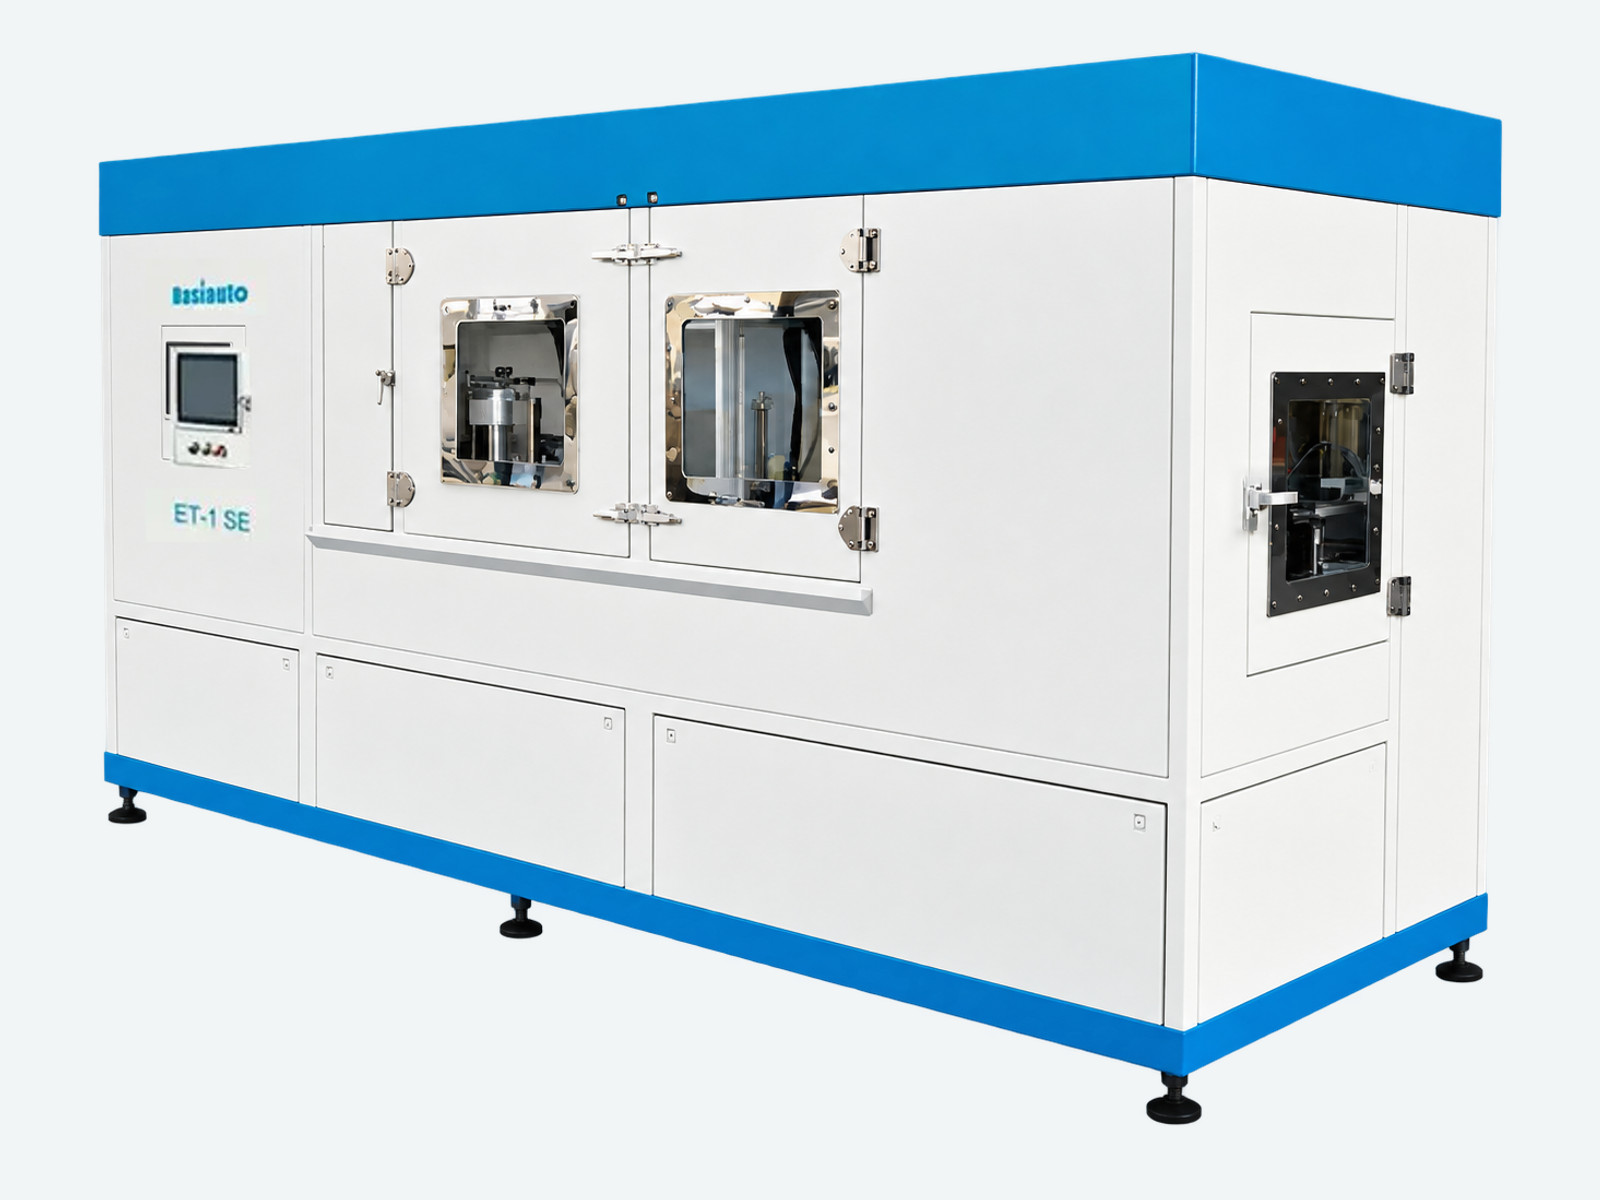
Plate-Shaped Part Processing
Conveyor wet blasting for both sides of lead frames and thin plate-shaped parts, with cleaning and rinsing.
Explore PP2000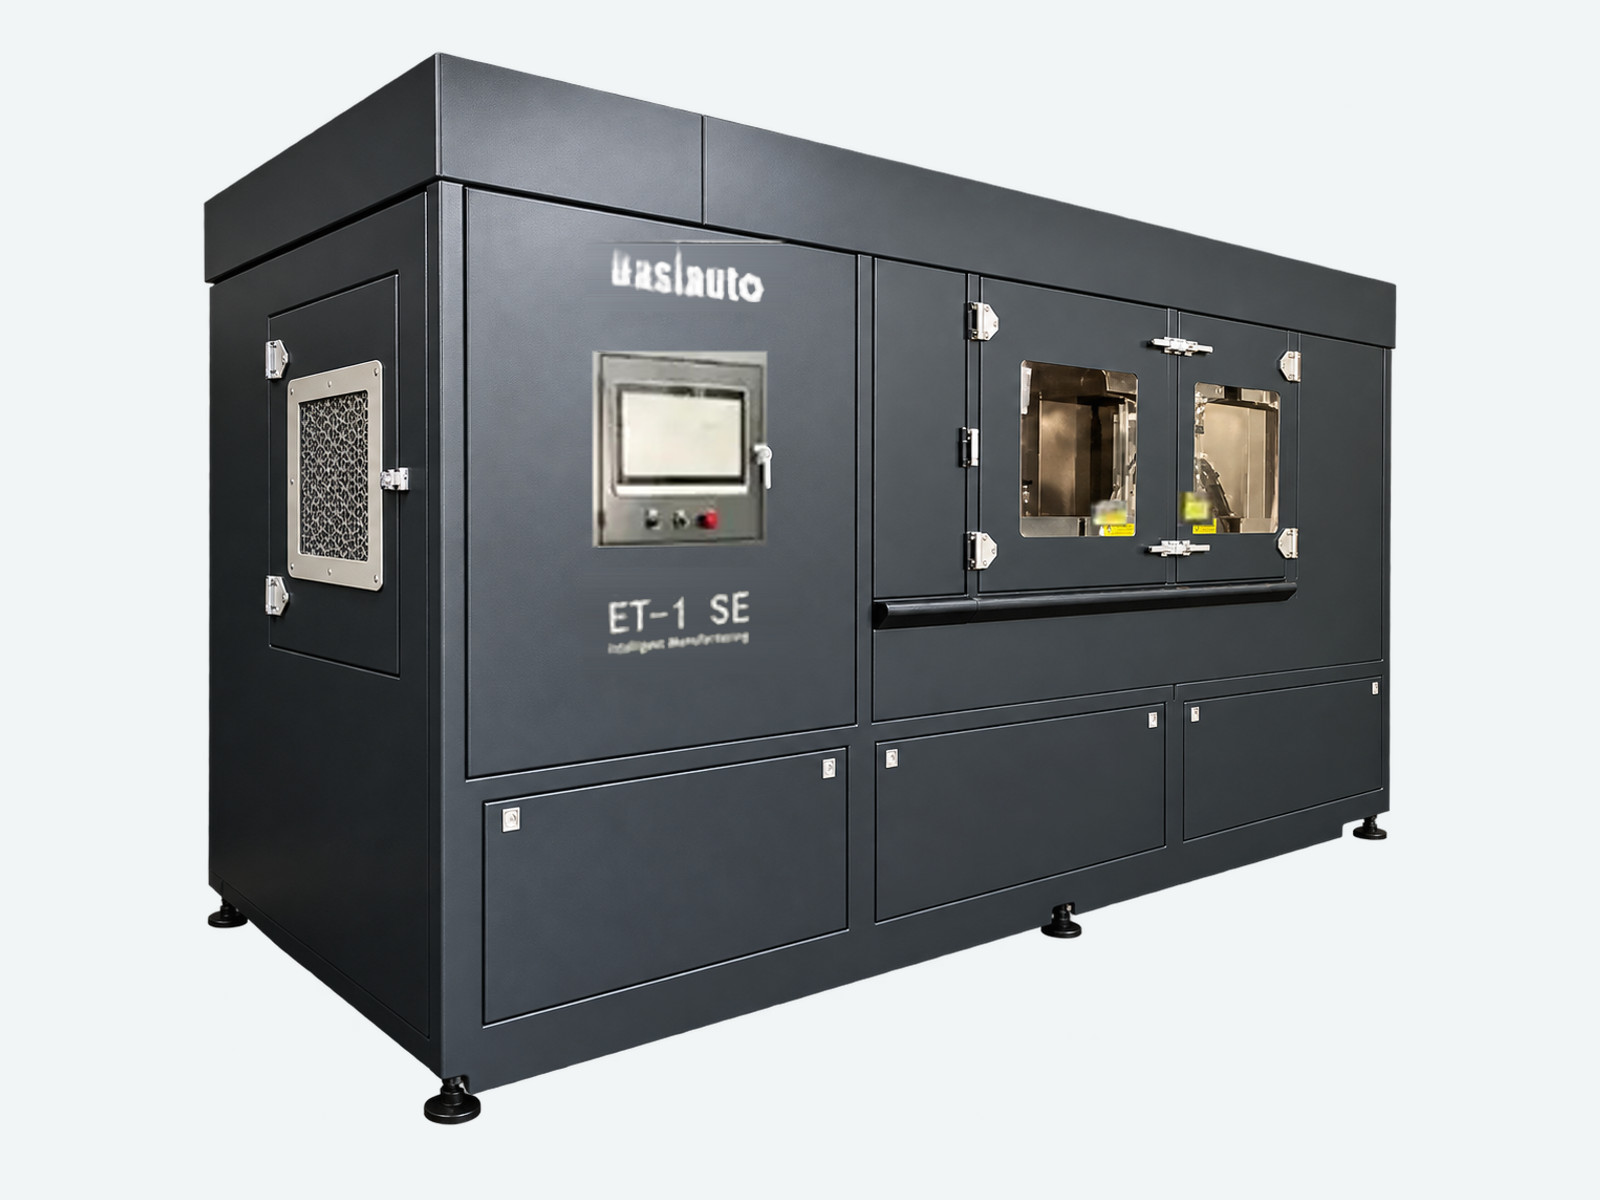
Complex-Part Wet Blasting
Fixture-based wet blasting, degreasing and cleaning for castings, forgings, gears and 3D printed parts.
Explore CP1800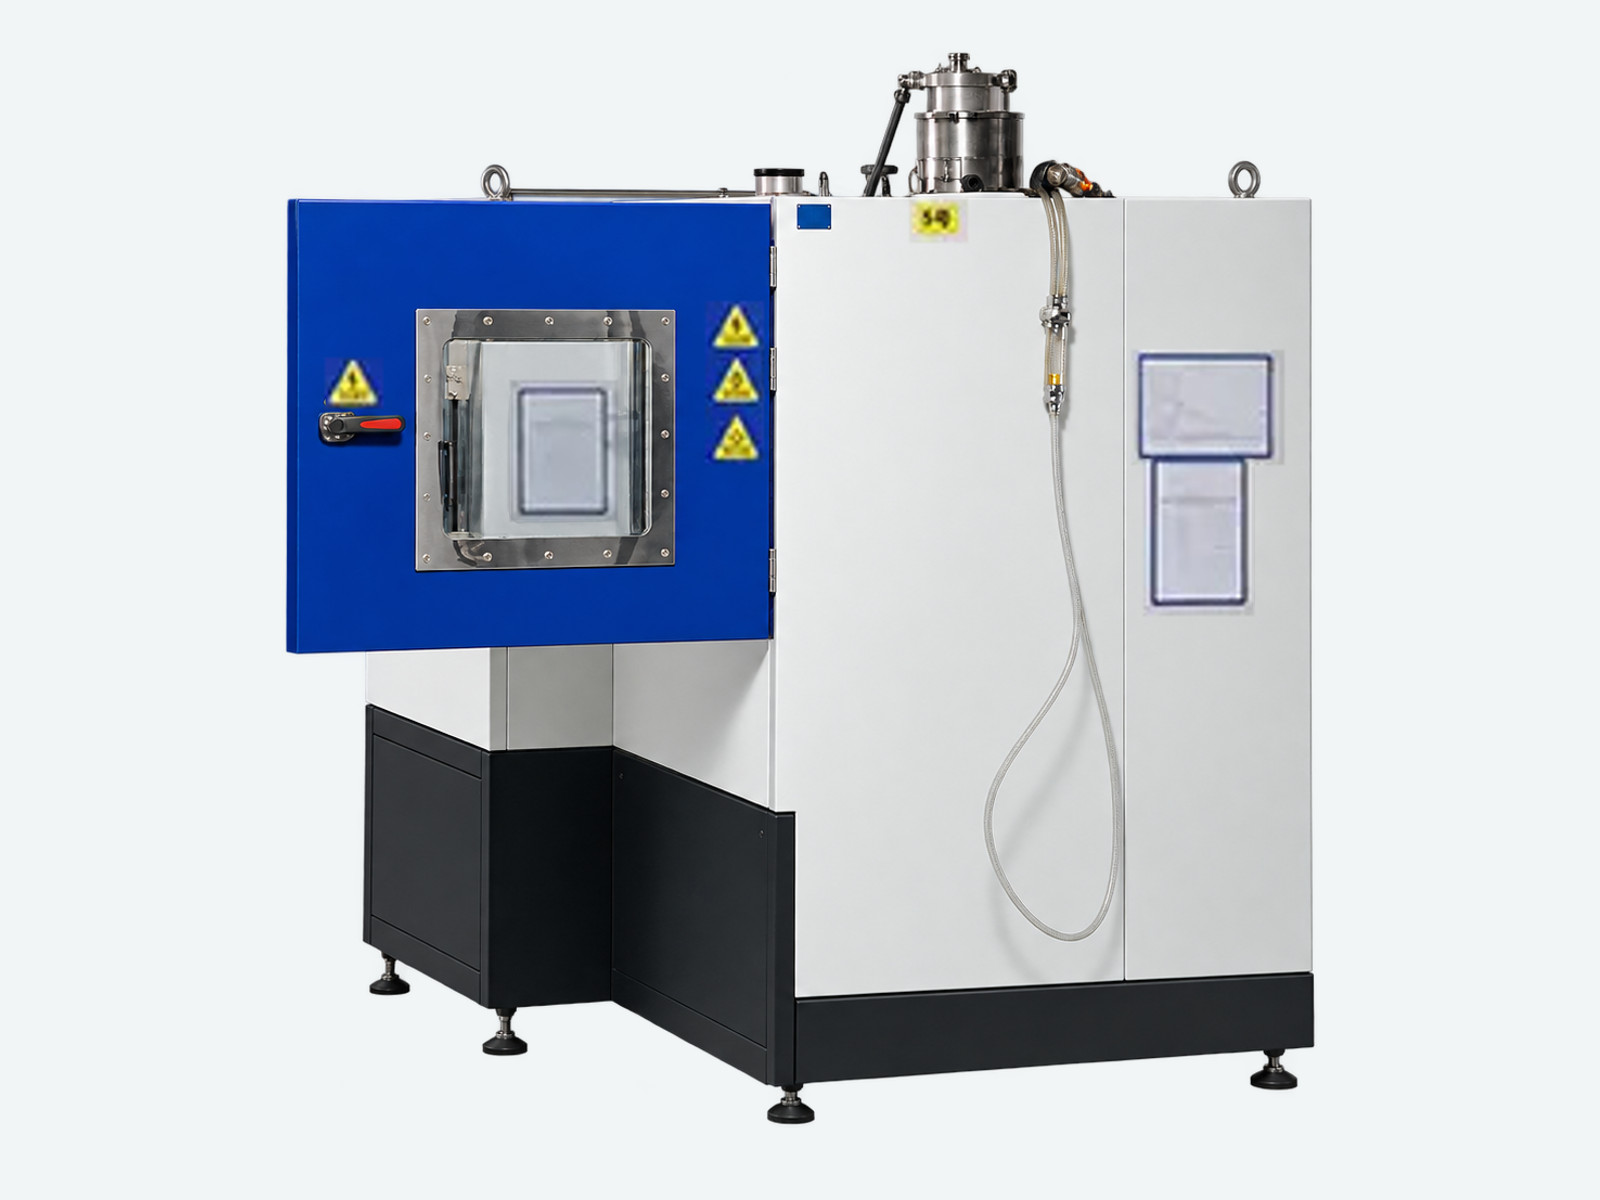
Robot-Type Wet Blasting
Six-axis robotic handling and a servo-controlled turntable for varied R&D workpieces.
Explore RB-6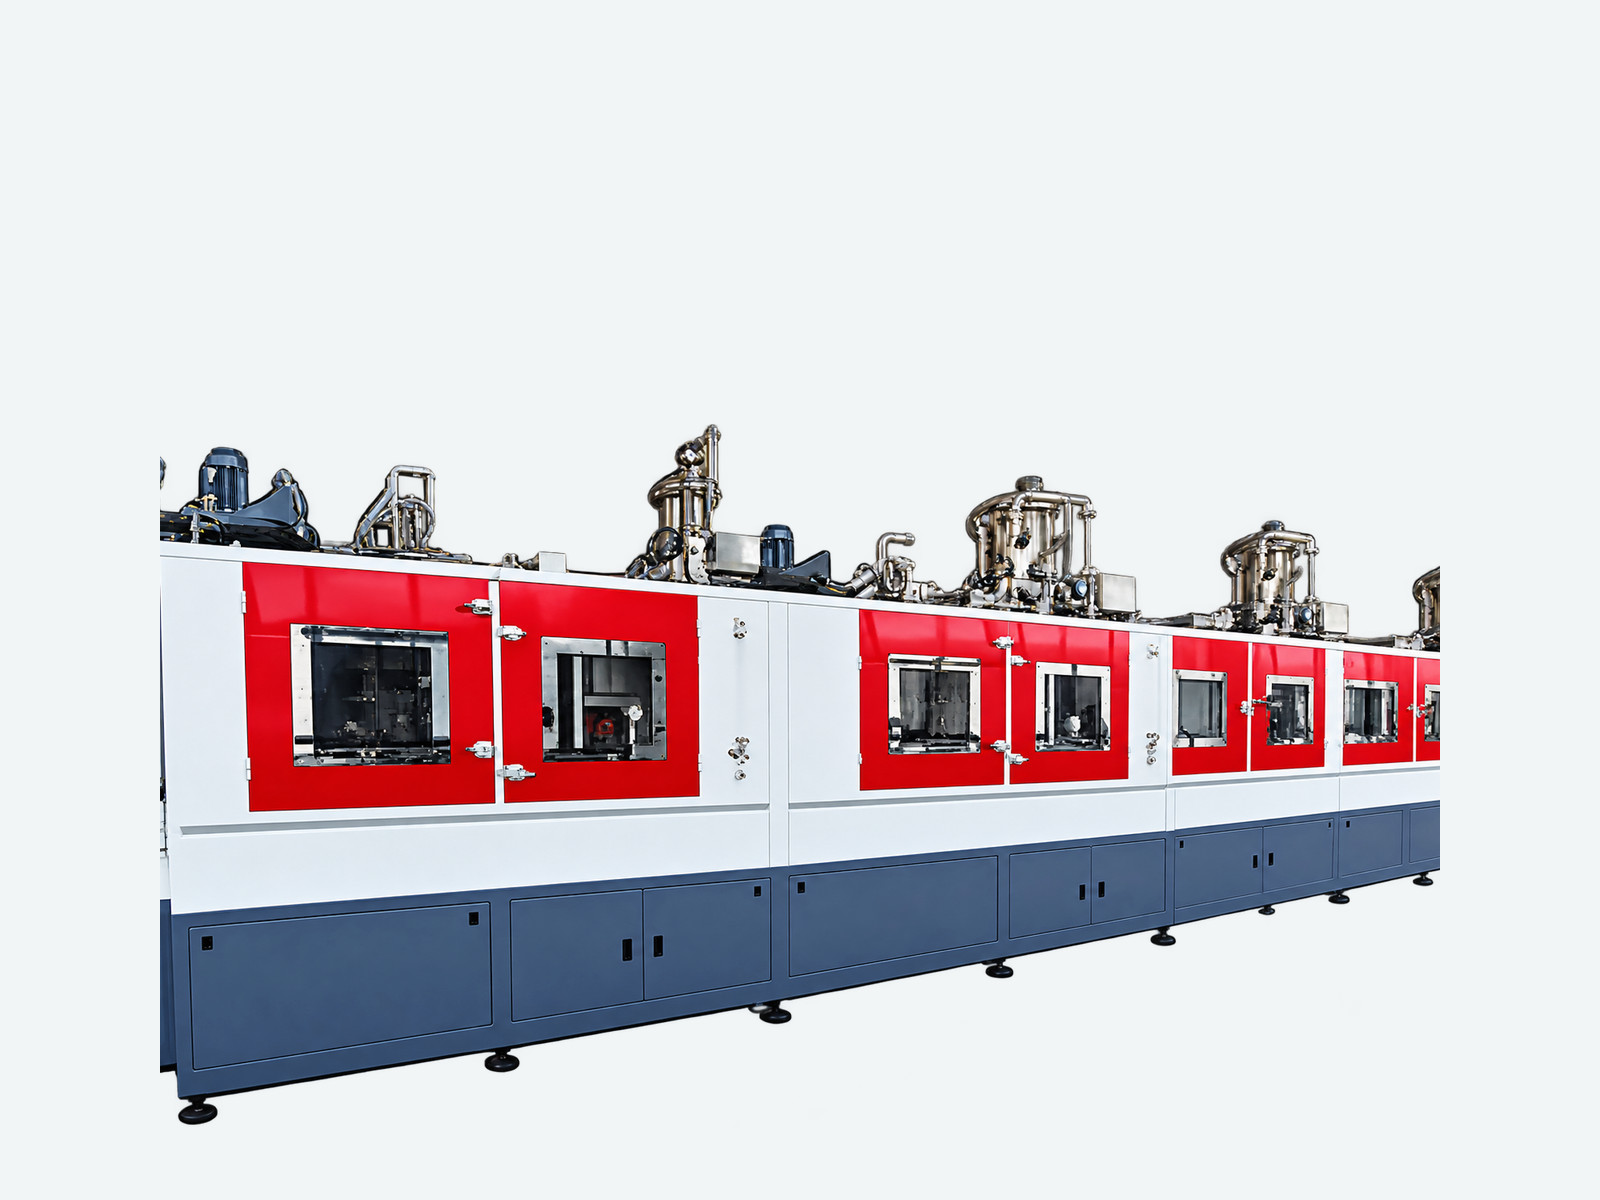
Round-Rod Wet Blasting
Continuous treatment for round rods, with rotating feed and application-specific loading and unloading.
Explore RP12000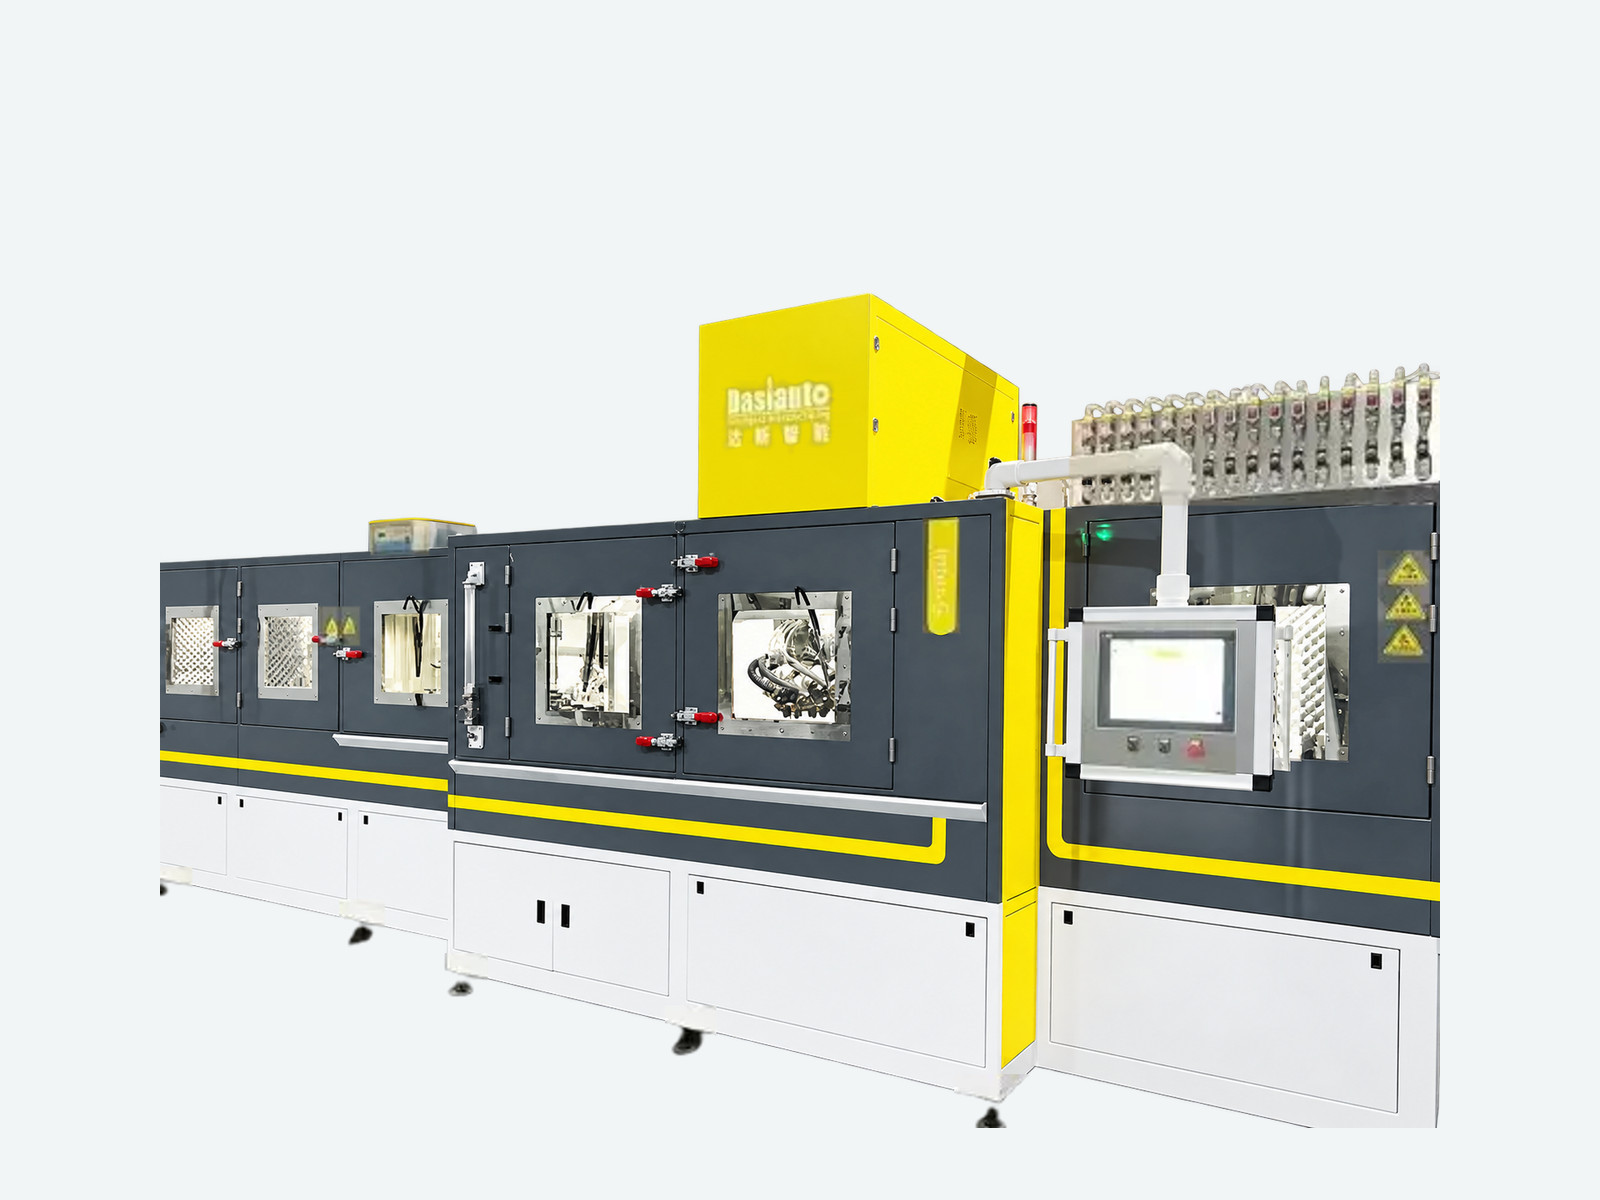
Wet Blasting & Phosphating
Combine abrasive treatment and phosphating in a continuous processing system.
Explore PH14000Equipment Selection
The equipment format is a starting point. Define the part, treatment and production requirements together before agreeing on a configuration.
Provide a drawing or representative sample, the material and dimensions, and the surfaces to treat. Identify critical dimensions, edges or surfaces that need protection. Discuss how the part will be clamped, supported or moved so that the treatment can reach the intended surfaces.
Describe the incoming condition and the cleaning, edge preparation or surface treatment you need. Agree how the result will be assessed. Select Abrasive Media alongside the equipment and processing conditions; a model name alone does not establish the finish a particular part will achieve.
Share the part mix, batch sizes and required production rate. Consider single-piece, tray-based, fixture-based or continuous handling with the cleaning, rinsing and drying stages the application needs. Confirm which functions and loading arrangements belong to the proposed configuration.
Review the available footprint, access, electrical supply, compressed air and water requirements. Where a route includes chemical phosphating, as in PH14000, include that stage in the process review. Evaluate representative parts against the agreed criteria before finalizing the equipment specification.
Applications
Follow the treatment objective for a closer look at the workpiece, process considerations and assessment requirements.
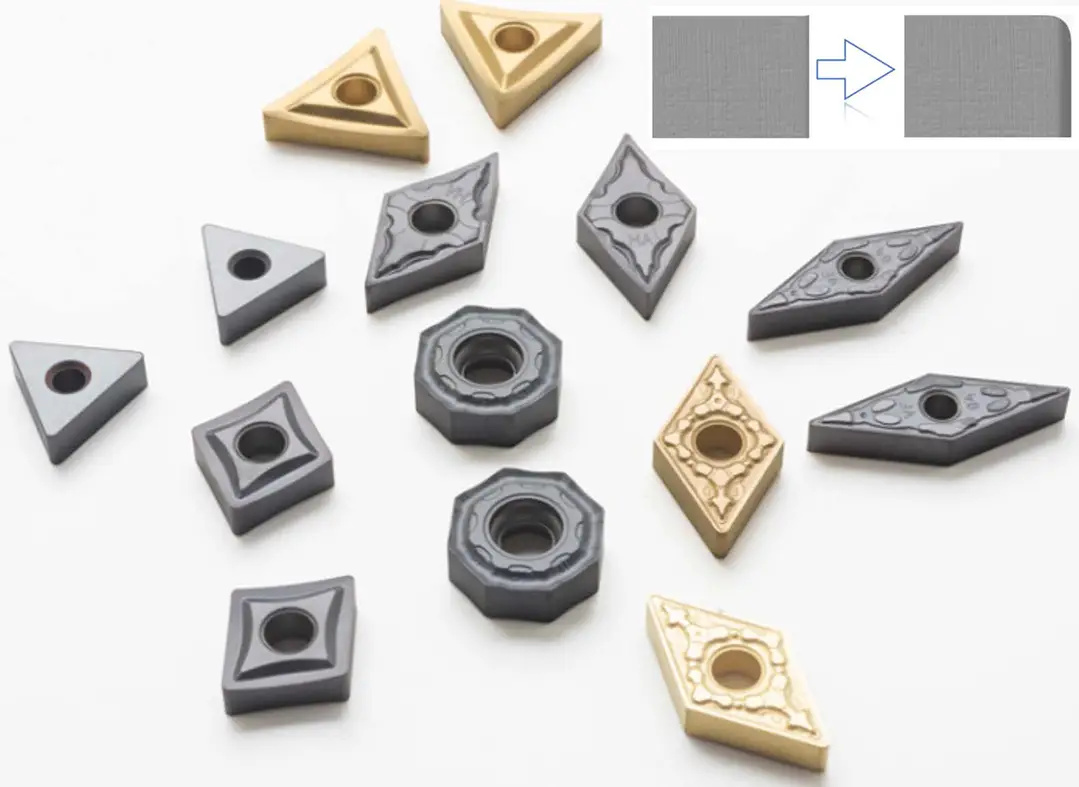
Define the intended edge profile, treatment locations and acceptance method for your cutting tool.
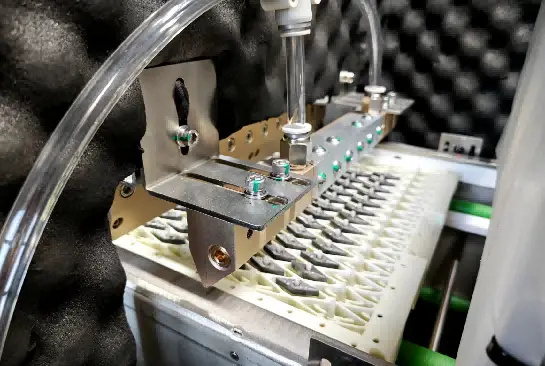
Review the incoming surface and the preparation requirements of the subsequent coating process.
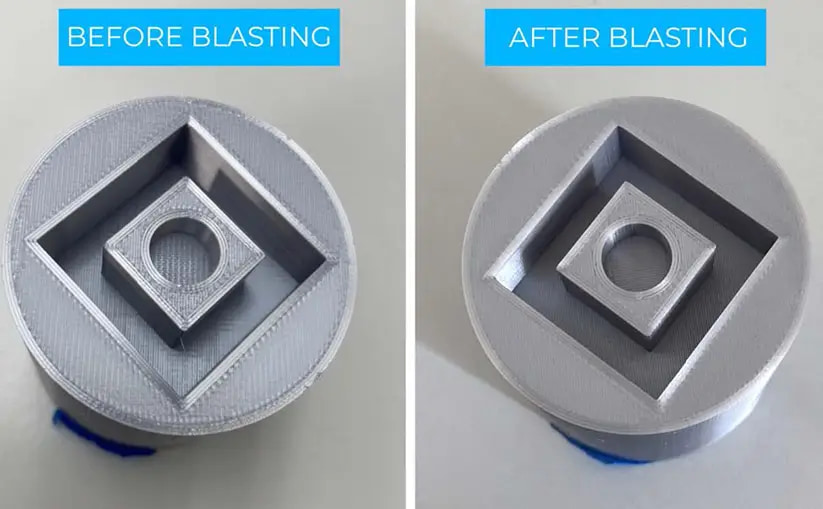
Consider external surface cleaning, part access and the features to preserve on printed components.
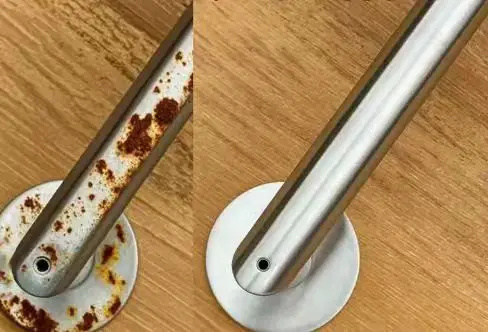
Assess the starting scale, part geometry and handling requirements for rods and forgings.
Keep Exploring
Explore individual process questions as you define the equipment requirements for your parts.